Flickr Images

Video of the Day

Translate

Jul 18, 2006

Worlds tallest buildings


Tapei 101
Taiwan
1671 ft - 509 m
101 floors


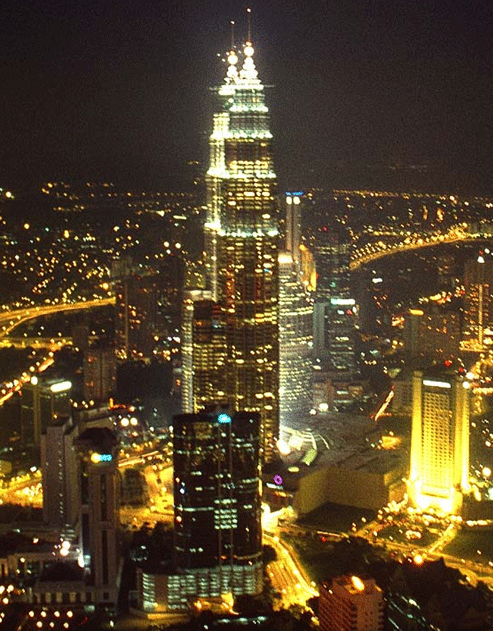
Petronas Towers
Kuala Lumpur, Malaysia
1483 ft - 452 m
88 floors



Sears Tower
Chicago, USA
1451 ft - 442 m
108 floors
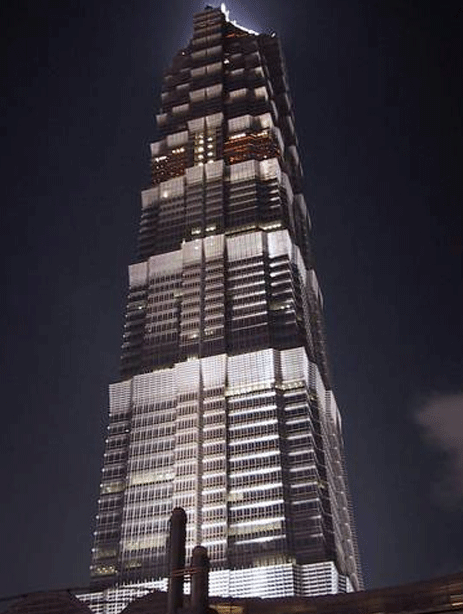


Jin Mao Tower
Shanghai, China
1380 ft - 420 m
88 floors
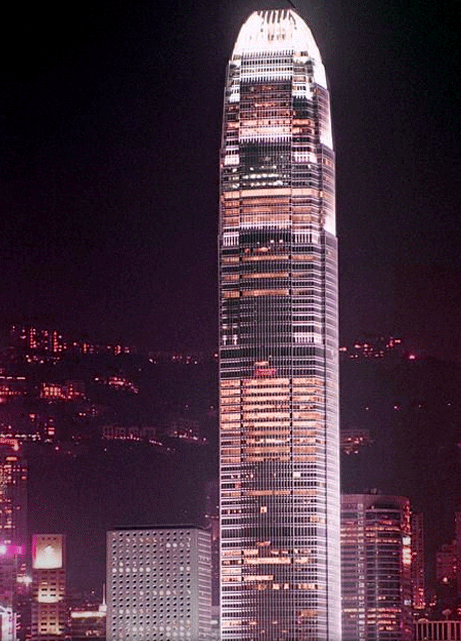


International Financial
Center
Hong Kong, China
1362 ft - 415 m
88 floors



Citic Plaza
Guangzhou, China
1283 ft - 391 m
80 floors
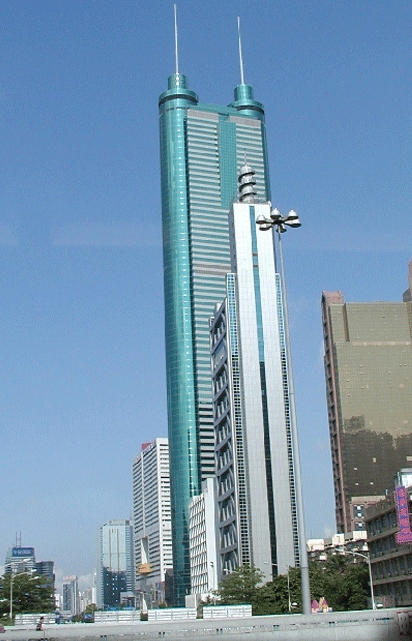


Shun Hing Square
Shenzshen, China
1260 ft - 384 m
69 floors
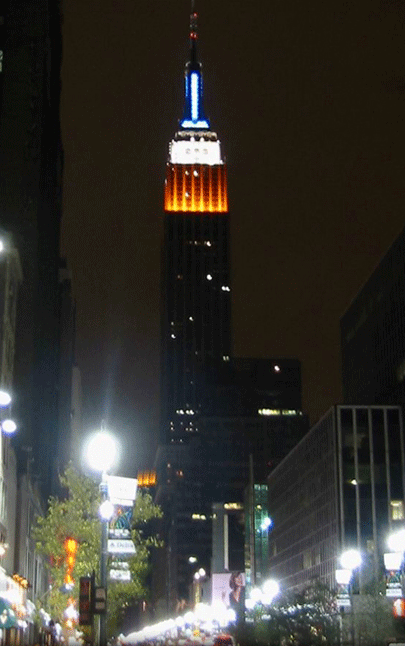


Empire State Building
New York, USA
1250 ft - 381 m
102 floors


Read more!

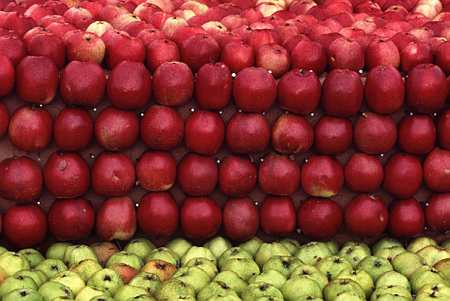
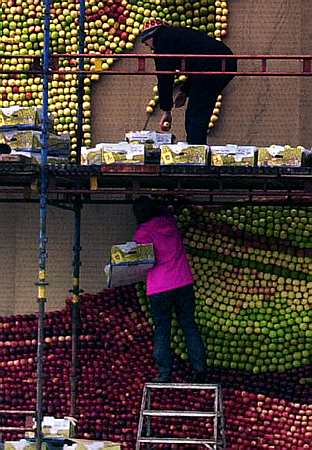
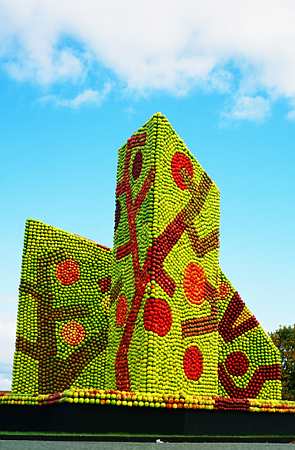
Apple art

Just wanna show you some wonderful apple art.

- 104 m2
- 3 tons
- 35 000 apples
- 70 000 nails


Read more!

Rocket launcher

Materials for the launcher:
- PVC pipe - needs to be a fraction less than 21.5mm outside diameter, for the bottle neck to slide smoothly during launch but still a good fit
- a 22mm tee piece compression joint
- a 22mm end cap for the above compression joint
- another 22mm end cap, this time to seal the end of a 22mm pipe (not the same as the item above)
- a spare 22mm compression fitting nut.
- some 40mm waste pipe
- PTFE tape
- a wire coat hanger
- cable ties
- a car type valve


STEP 1
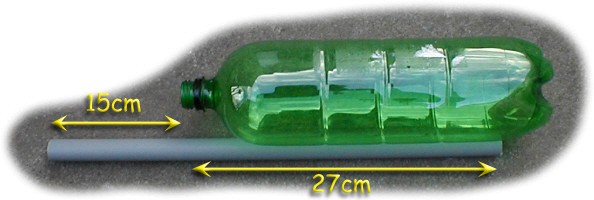
Insert the pipe you are going to use as the launch tube into a PET bottle. Mark the point at which the bottle will launch from on the pipe. Measure 15cm from the neck of the bottle, down the pipe and cut.


STEP 2
Make a small groove around the launch pipe using a hacksaw at the point you want the rocket to sit prior to launch, i.e.. 16cm from the bottom end of the pipe The groove should be no more than 0.5mm deep.
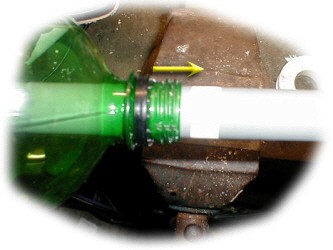
The groove is designed to hold the PTFE tape in place, which will act as a gasket to seal the bottle while it is being pressurised for launch.
Now wrap PTFE tape around the groove for a few turns.


STEP 3
Check by sliding the bottle into place, that you have just enough PTFE tape to ensure that the neck of the bottle will seal when it is pushed fully over the tape.


STEP 4
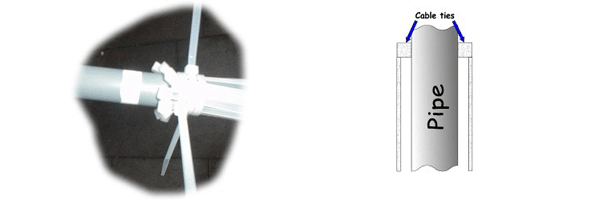
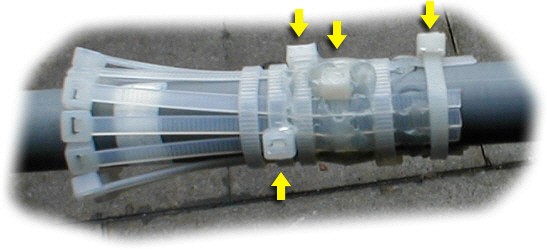
This is the slightly tricky part. a little below the point where the bottle mouth will sit (on the PTFE tape) hold several cable ties around the pipe. The cable tie heads should be facing towards the pipe (see diagram). Use enough ties, so that the heads of the cable ties are against the pipe and touch each other at the sides. Loosely cable tie these ties to the pipe. I have used three cable ties to secure the launcher ties.


STEP 5
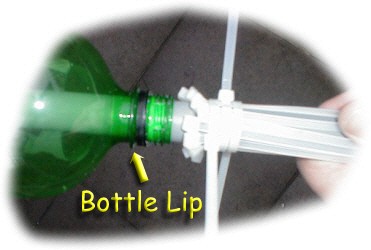
Now push the bottle into place over the PTFE tape, to the point on the tube where the bottle will launch from.
Pull each of the cable ties up one at a time so that the tie heads sit over the lip on the neck of the bottle.


STEP 6
With all the launcher cable ties in place, tighten the cable ties that are around the tube, in order to hold everything in place.


STEP 7
Trim the ends off the cable ties around the pipe and if necessary add some extra cable ties around the tube. I used three more. One is underneath. These all help to clamp the launcher ties in place.
Then use hot melt glue to further hold the launcher ties in place.


STEP 8
Trim the launcher ties.
It will probably be necessary to file down the heads of the clamping cable ties.
This will allow the locking collar to easily slide over these Cable tie heads.


STEP 9
To make the locking collar use 40mm waste pipe. Cut two pieces, one about 7cm long and the other about 9cm long.
- cut a slit down the full length of the longer, 9cm piece of pipe
- spread the slit in the longer pipe so that it pushes over the shorter one. The top part of the longer split tube is the right diameter to lock the cable ties in place around the bottle neck, while the rocket is being pressurised.
- turn the locking collar over and glue a nut from a 22mm pipe fitting into the bottom section.
- slide the collar up over the pipe to make sure it fits OK.


STEP 10
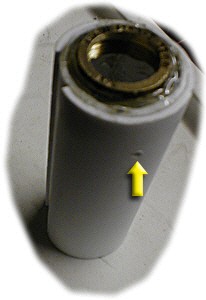
Once the collar slides on the pipe reasonably loosely, remove it again and drill two holes about 0.5cm above the 22mm pipe fitting nut you glued in earlier. One of the holes is shown in the picture, the other is on the opposite side.


STEP 11
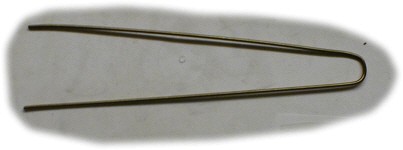
Take a wire coat hanger and cut it to size using a pair of wire cutters. Straighten it out using a pair of pliers.


STEP 12
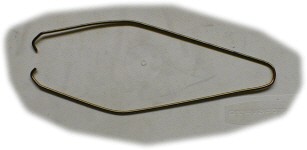
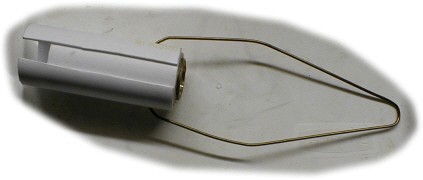
Bend the wire coat hanger into the shape in the picture bellow.


STEP 13
Now carefully push the hooked ends of the wire into the holes in the collar.


STEP 14
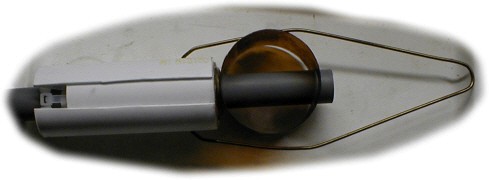
This is the spring mechanism. It is designed to hold the locking collar in place before launch, whilst the rocket is being pressurized.
Cut it from the middle of a small half litre coke bottle. Then cut two holes, just large enough (22mm) for the launch pipe to go through.


STEP 15
Slide the locking collar back onto the launch pipe and slide the retaining spring behind it.


STEP 16
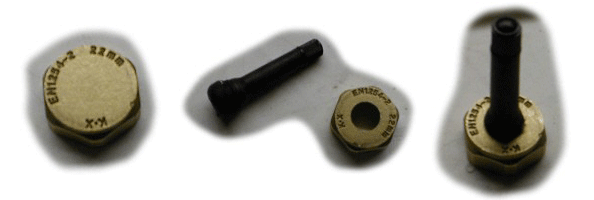
The pressure valve (car tyre valve) is attached to a 22mm end stop. The end stop comes with a rubber seal/washer inside, you will need to remove this seal. Now drill a small pilot hole in the center of the cap. This hole will need to be successively increased to 14mm in diameter. Put plenty of hot melt glue inside the end cap and firmly push the valve through. Once cool screw the cap onto the tee joint. Use extra hot glue and/or PTFE tape to ensure the integrity of the joint is maintained under pressure.


STEP 17
Now slide the 22mm compression pipe fitting behind it and using PTFE tape make the joint.


STEP 18
Now attach another 22mm pipe to the bottom of the 22mm tee joint and attach a 22mm end stop to the other end of this pipe.


STEP 19
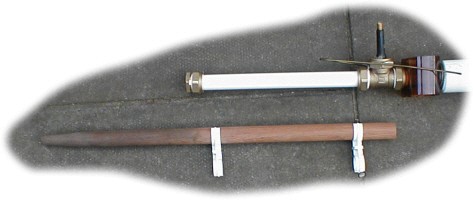
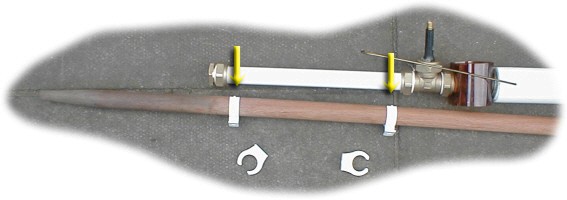
You will need a wooden stake (about 22mm diameter), four 22mm plastic pipe clips and a couple of wood screws.
Place two plastic clips on the wooden stake just far enough apart to allow you to clip the launcher to the stake (yellow arrows).
Drill two small pilot holes into the wood, through the attached clips fixing hole.
Screw the remaining clips onto the stake through these fixing holes.


Read more!

Water rocket

WARNING!!
Make sure that when it does come down it won't cause any damage, especially to people.

OK, now we can start.

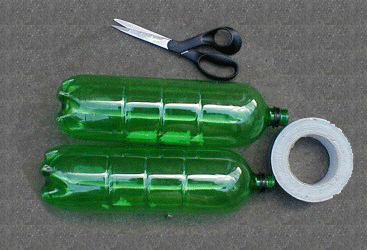
You need two bottles, scissors and some duct tape.


One bottle is the rocket motor.
The second bottle needs to be cut in two places:
1. cut off the top of the bottle
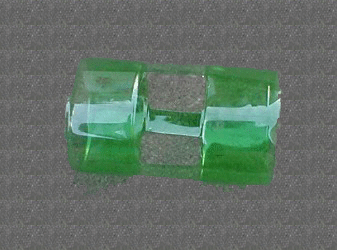
2. cut off the bottom of the bottle so that you are left with a cylinder of PET (this will be the tail of the rocket)


Tail: cut three square holes in the cylinder of PET (see the picture bellow)


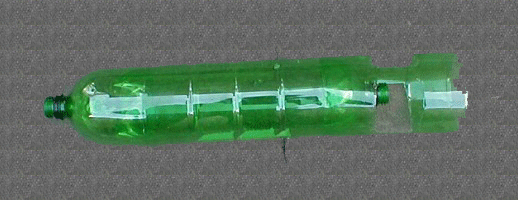
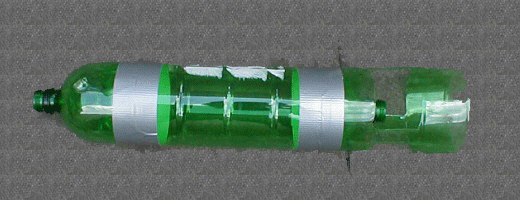
Slide the nose cone over the bottom of the first bottle and the tail over the neck of the same bottle. Make sure they are straight.


And final, tape it up with the duct tape.


Half fill with water and put it onto your launcher ready for launch.
If you want it to go really high, put a small amount of water into the nose cone (don't fill it and don't cap it). It might be a good idea to pump the bottle up to 1 bar (no more) before you do this.


You can see HERE how to make a rocket launcher.


Read more!
Jul 10, 2006

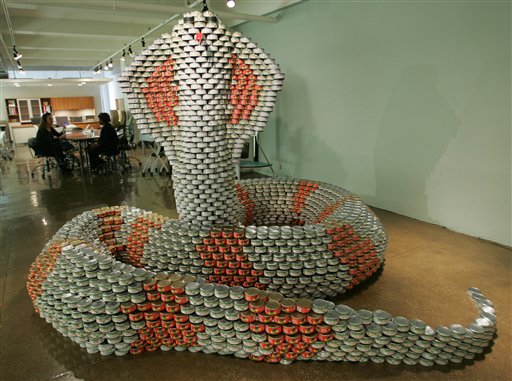
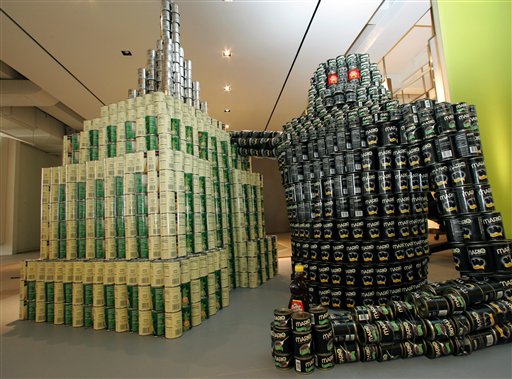
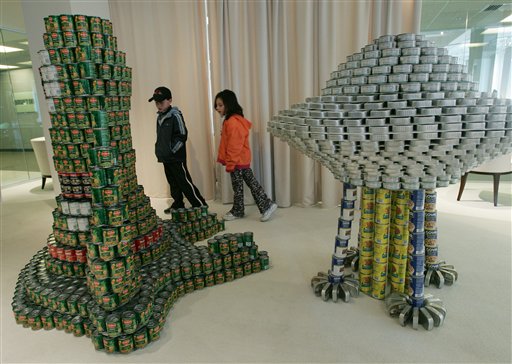
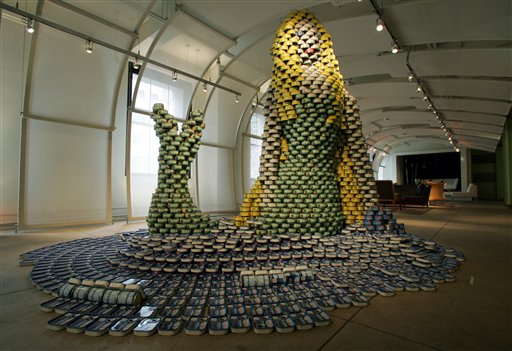
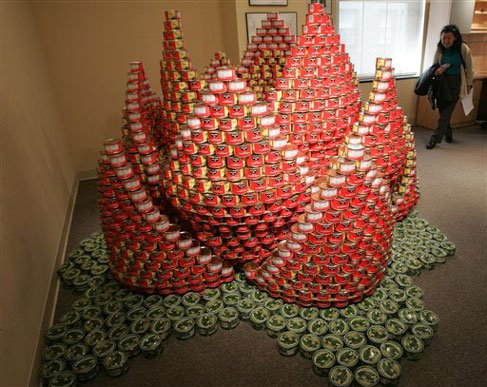
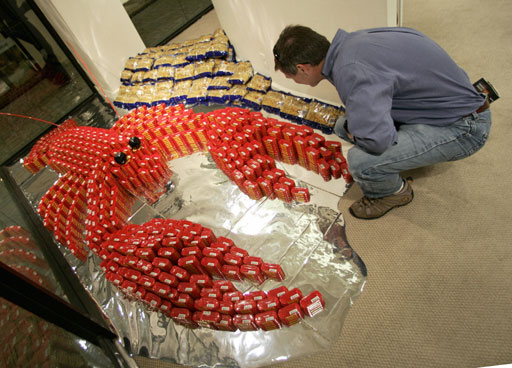
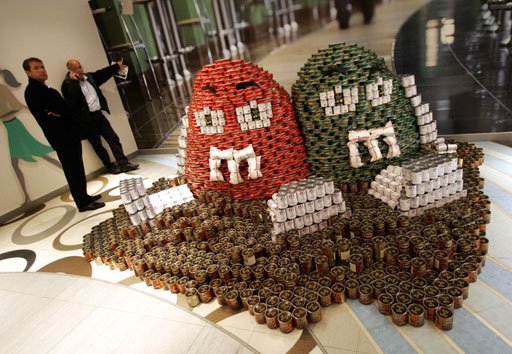
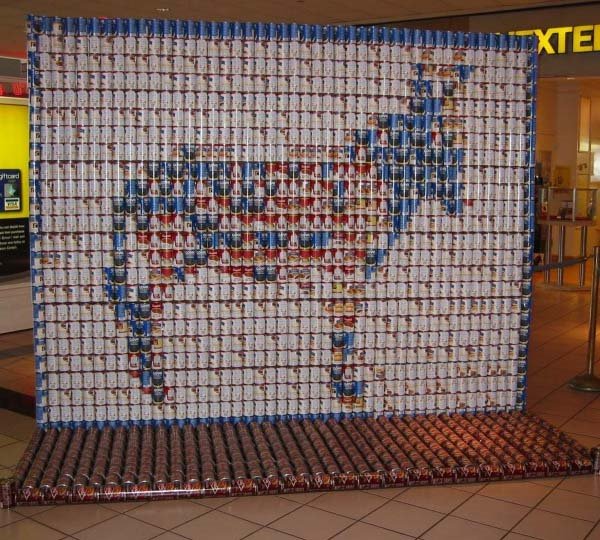
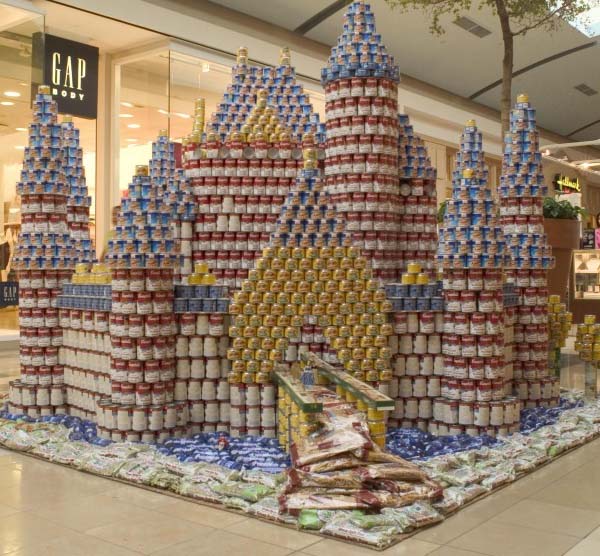
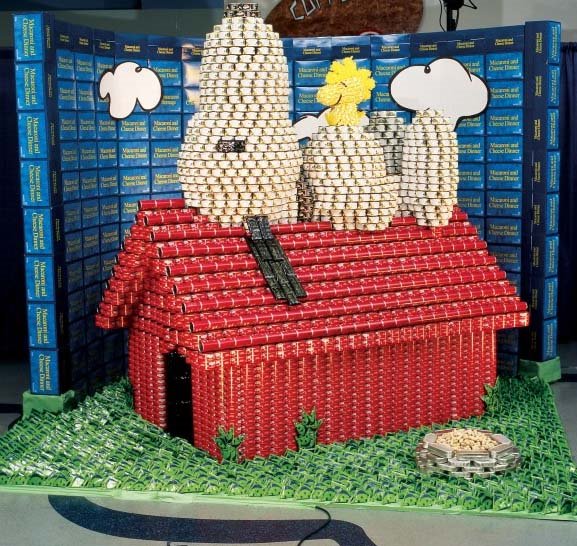
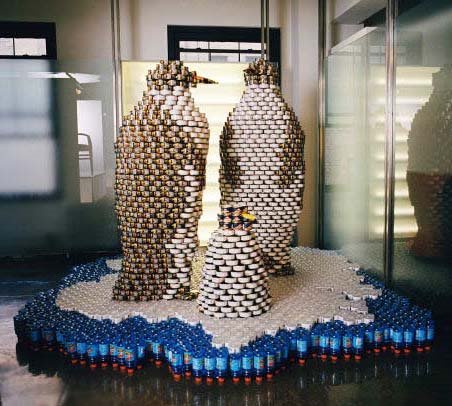
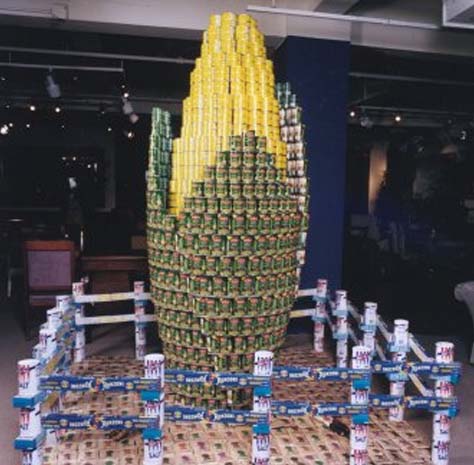
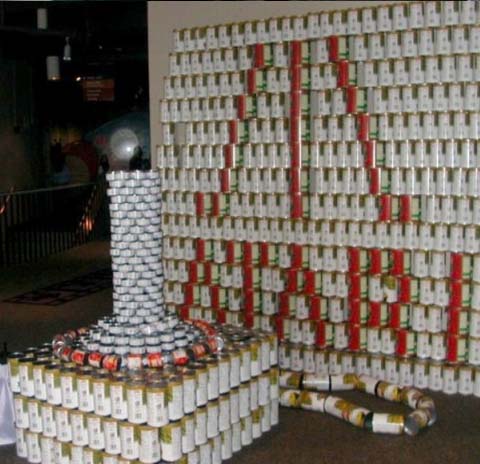
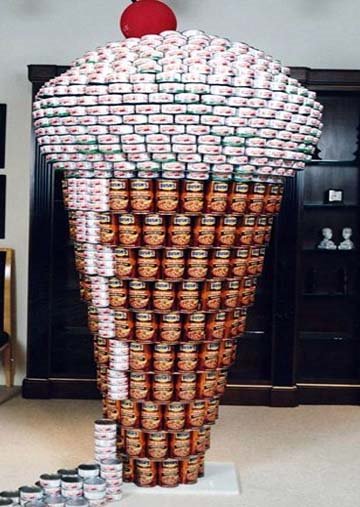
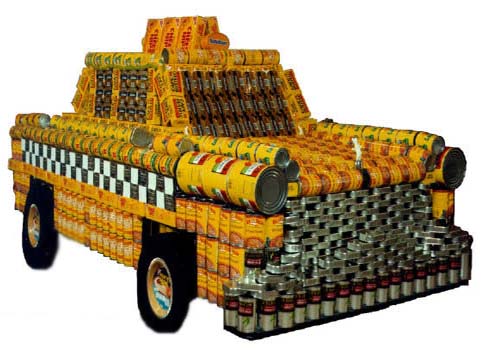
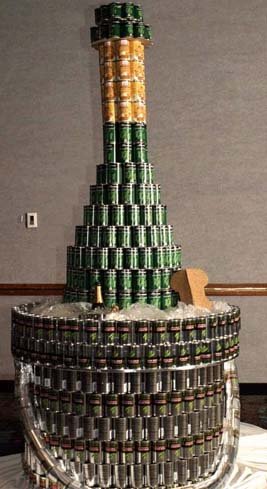
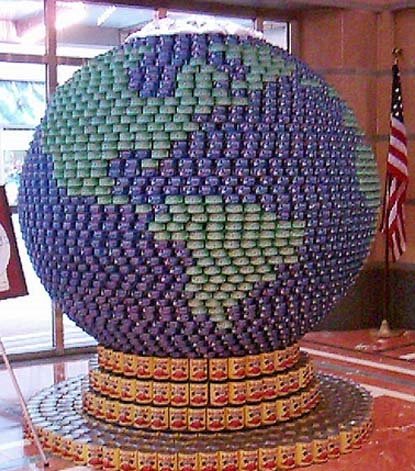
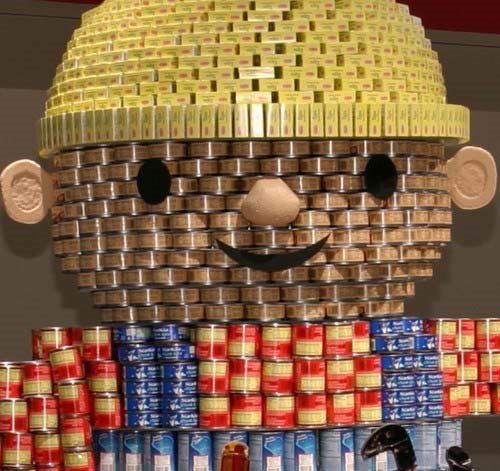
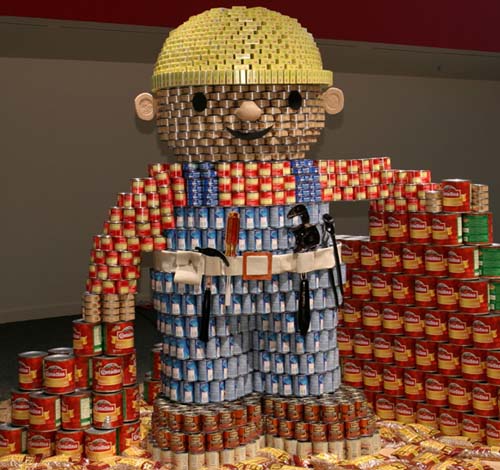
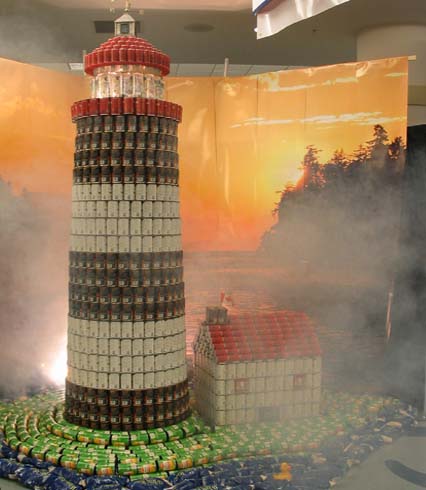
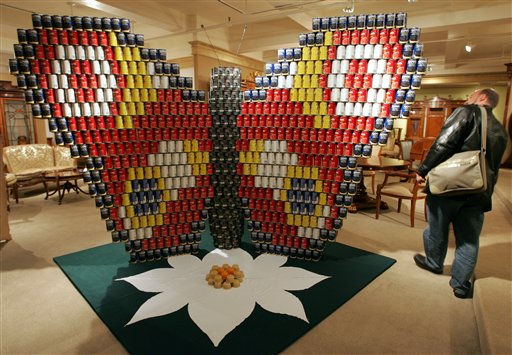
Stacked cans art

Amazing art made out of stacked cans!! Enjoy in this "unique piece of art" pics ...


Read more!